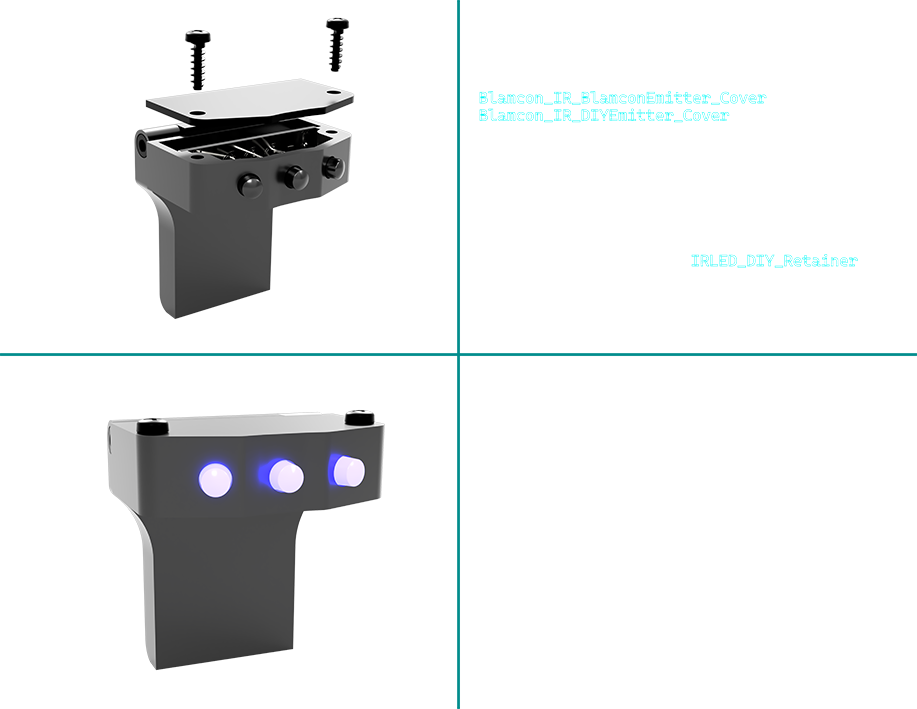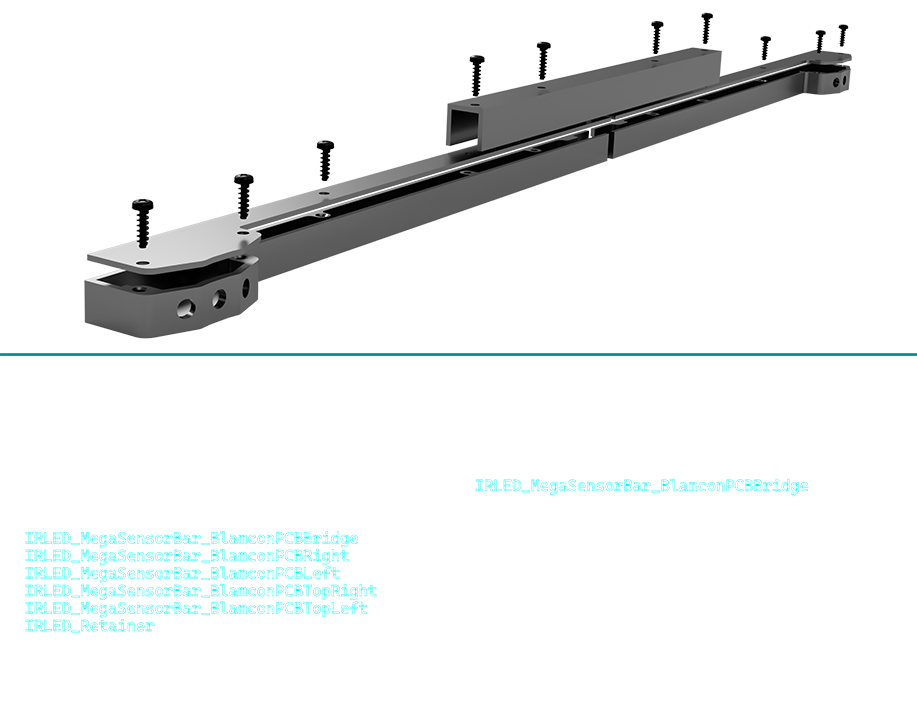

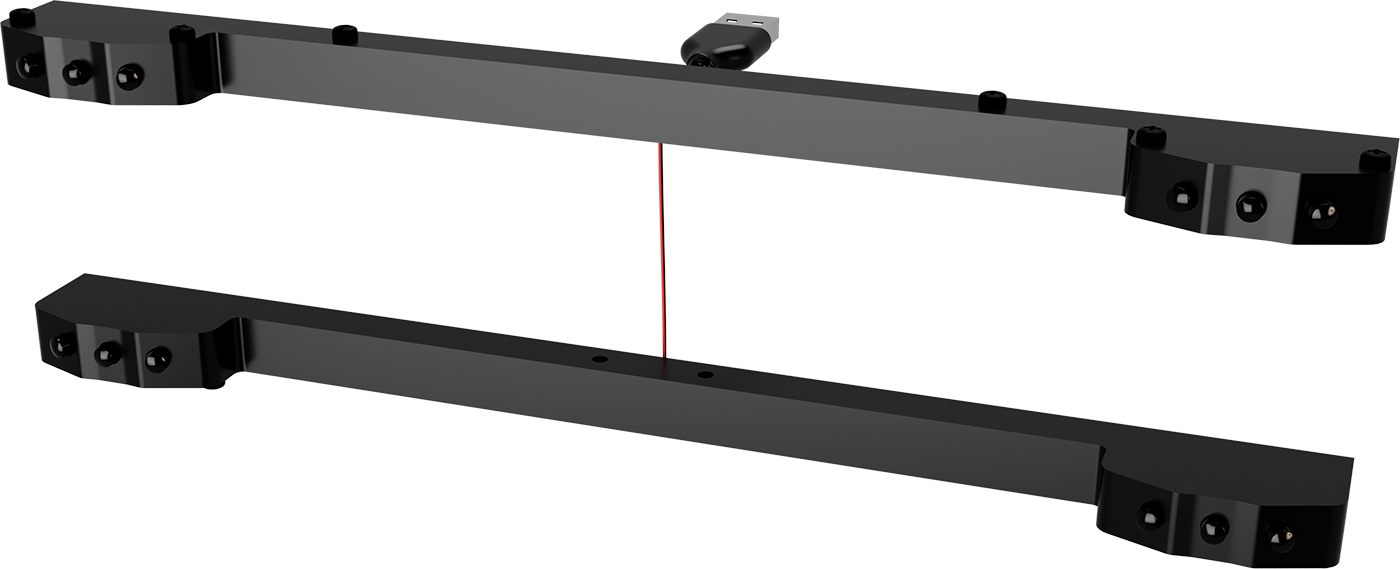


Use the model browser to highlight any parts and see where they fit in the IR Bars.
Use the explode model to see how it fits together.

Use the model browser to highlight any parts and see where they fit in the IR Bars.
Use the explode model to see how it fits together.
DOWNLOAD PDF
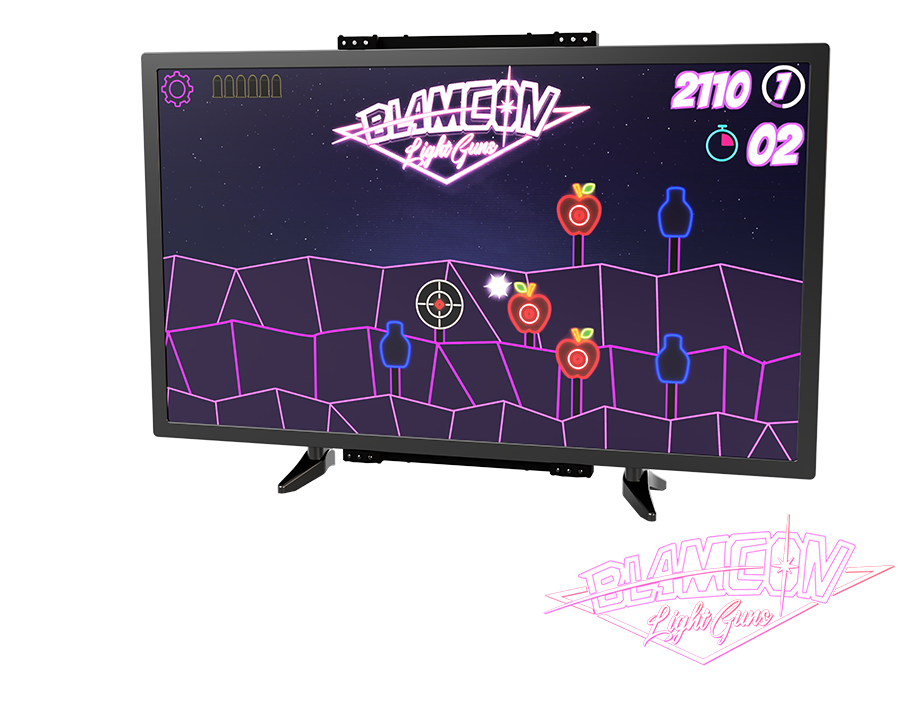
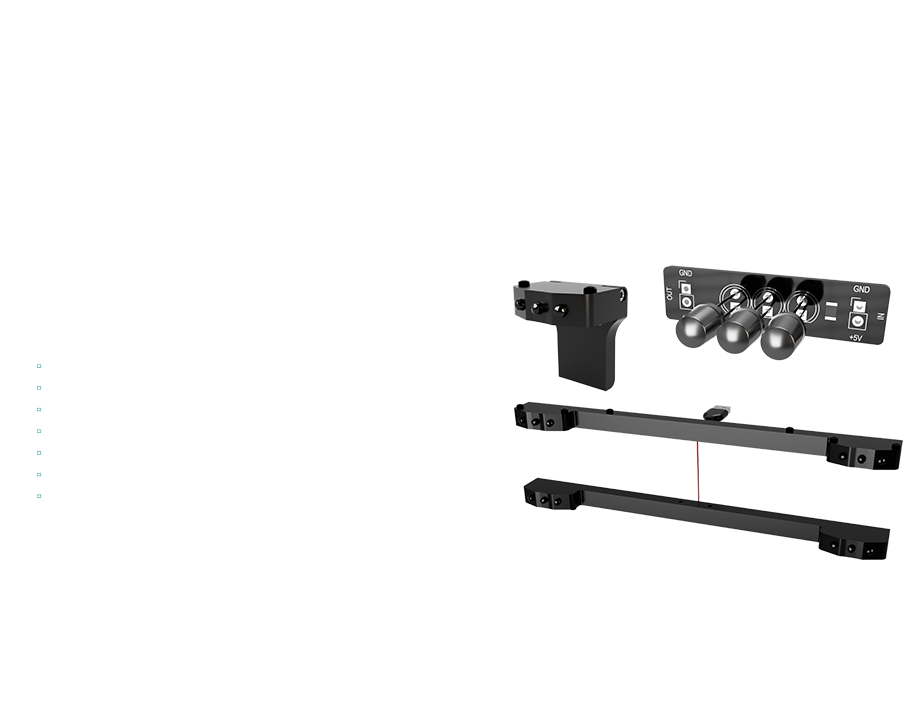
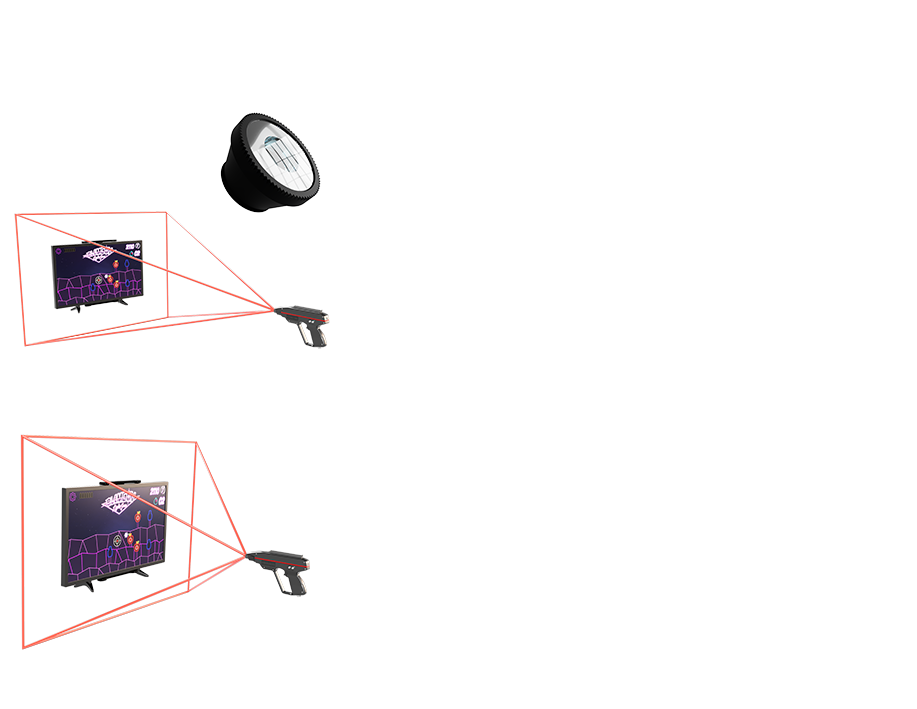
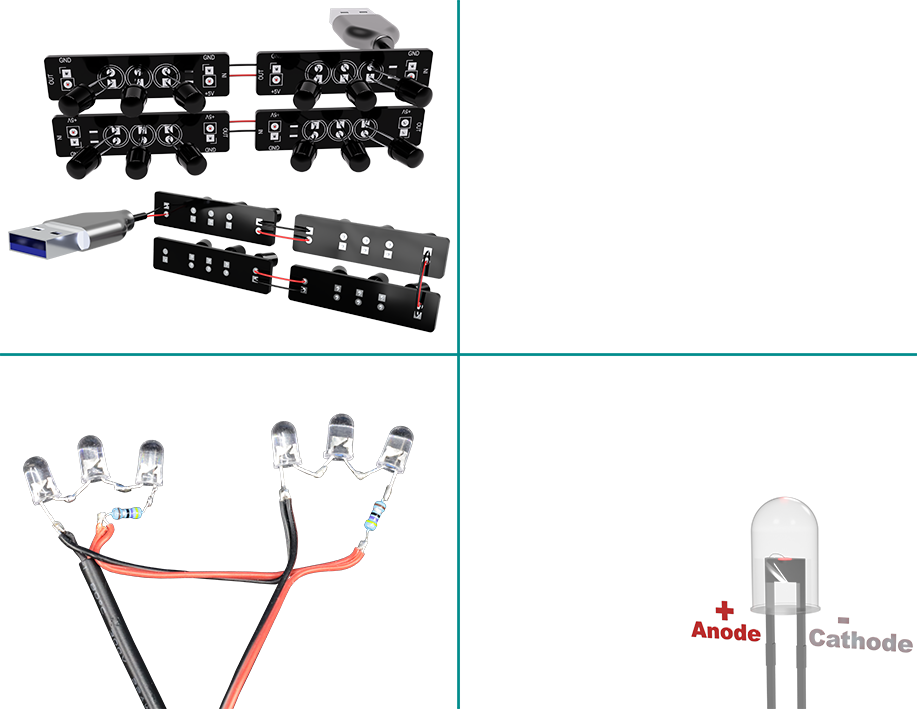
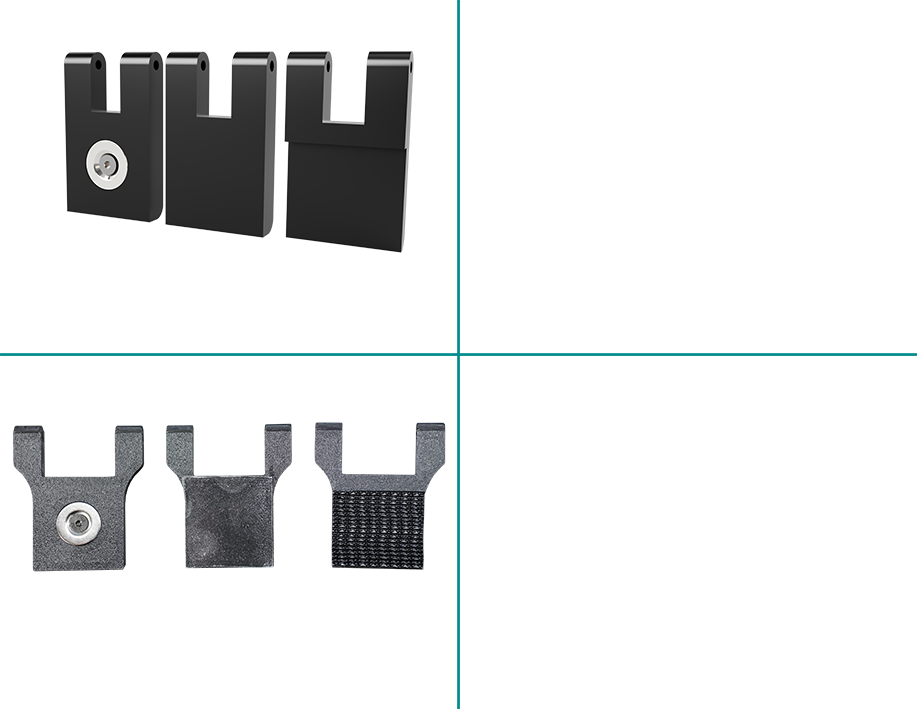
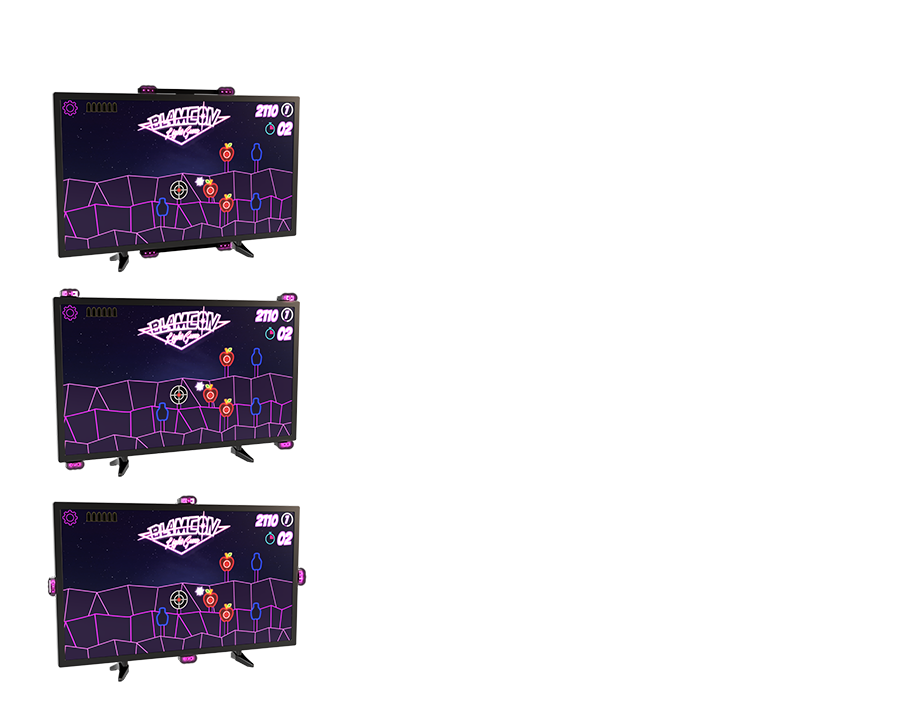
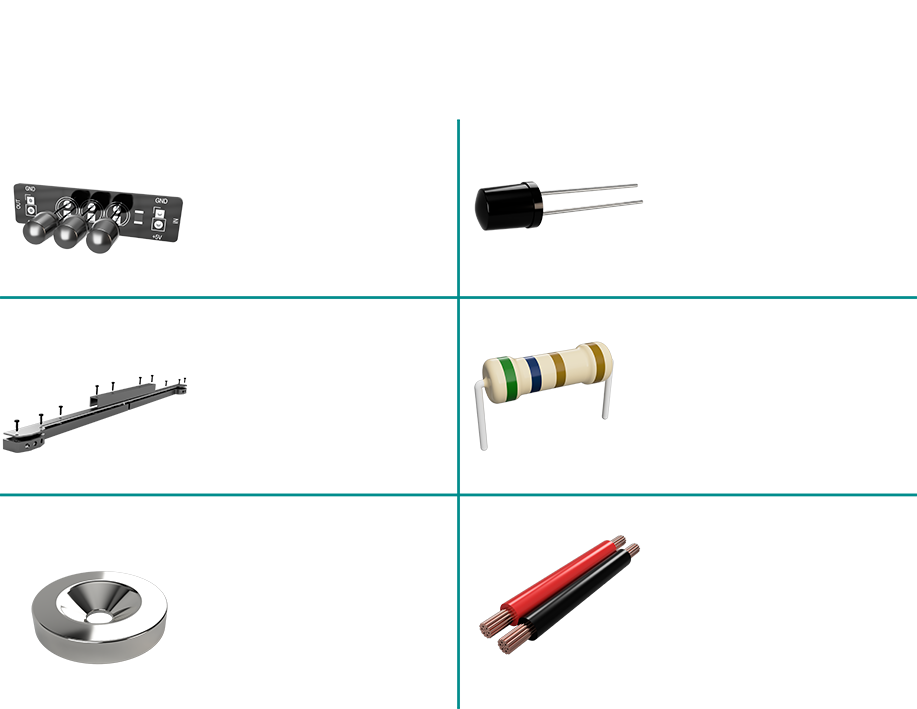
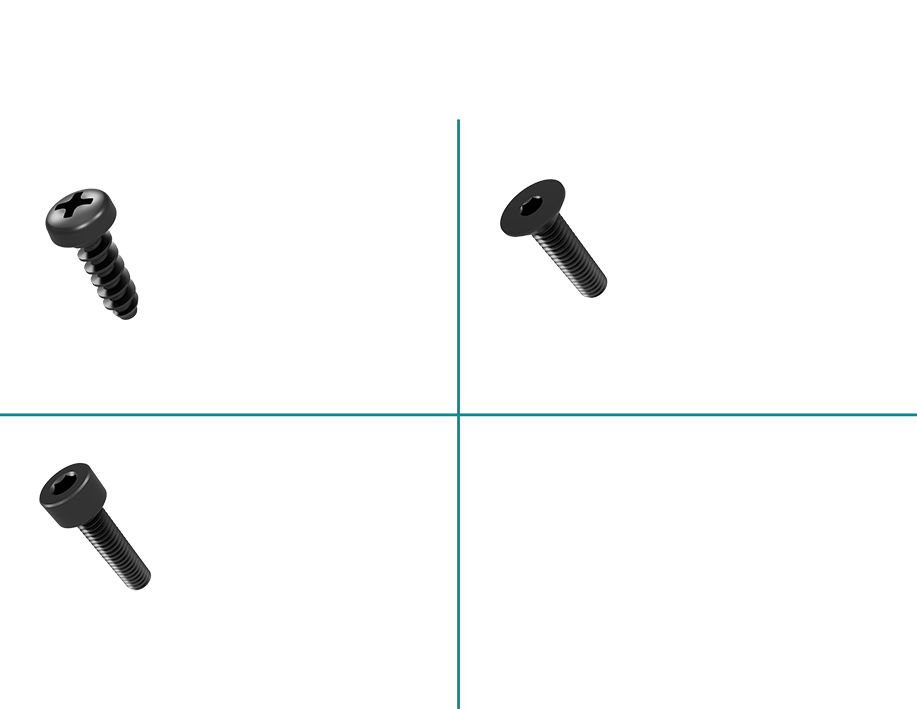
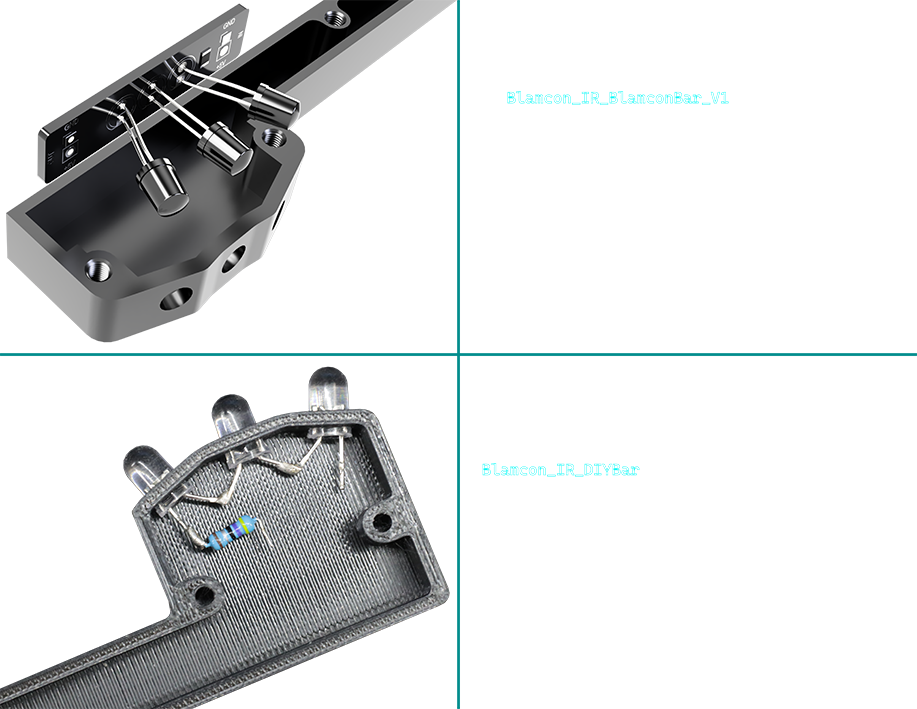
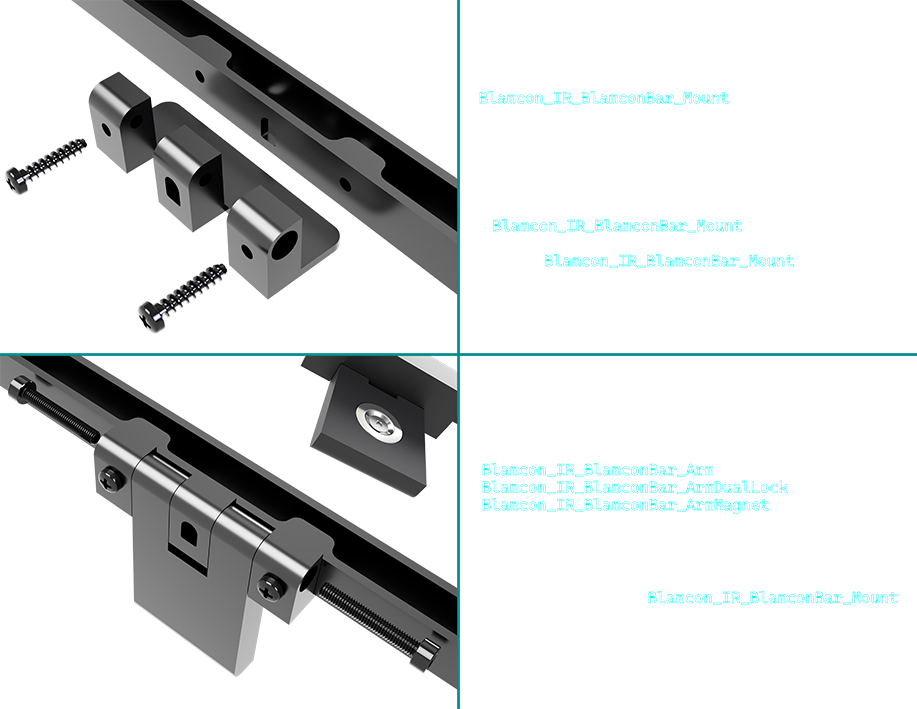
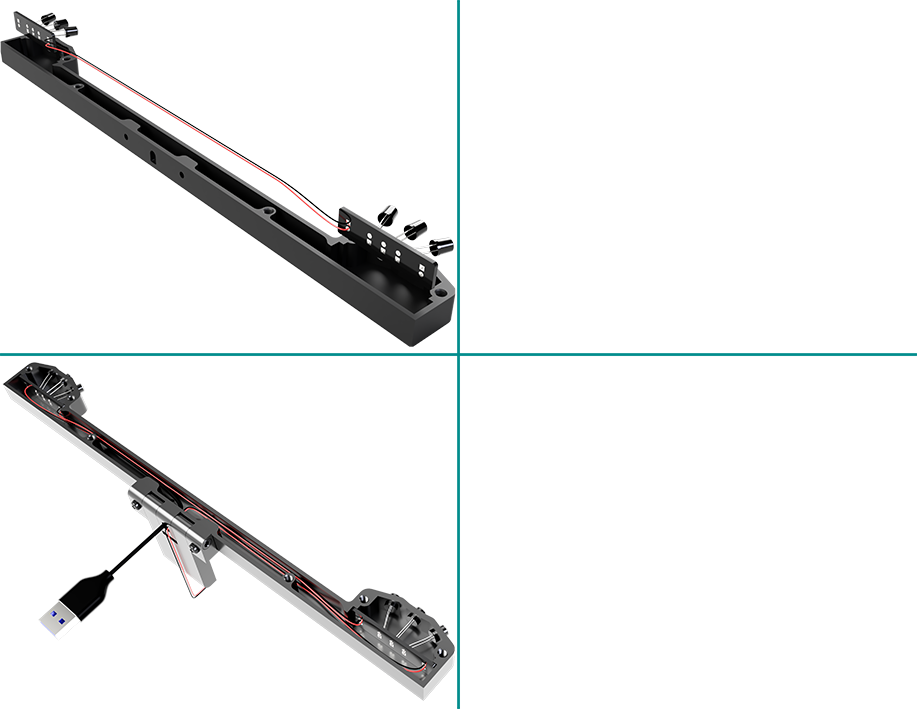
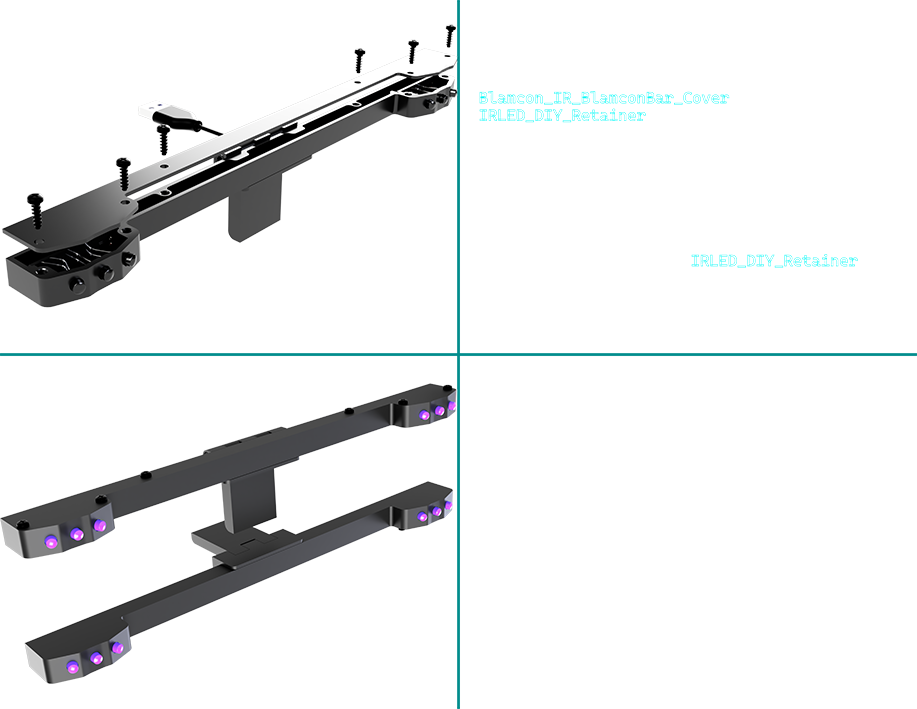
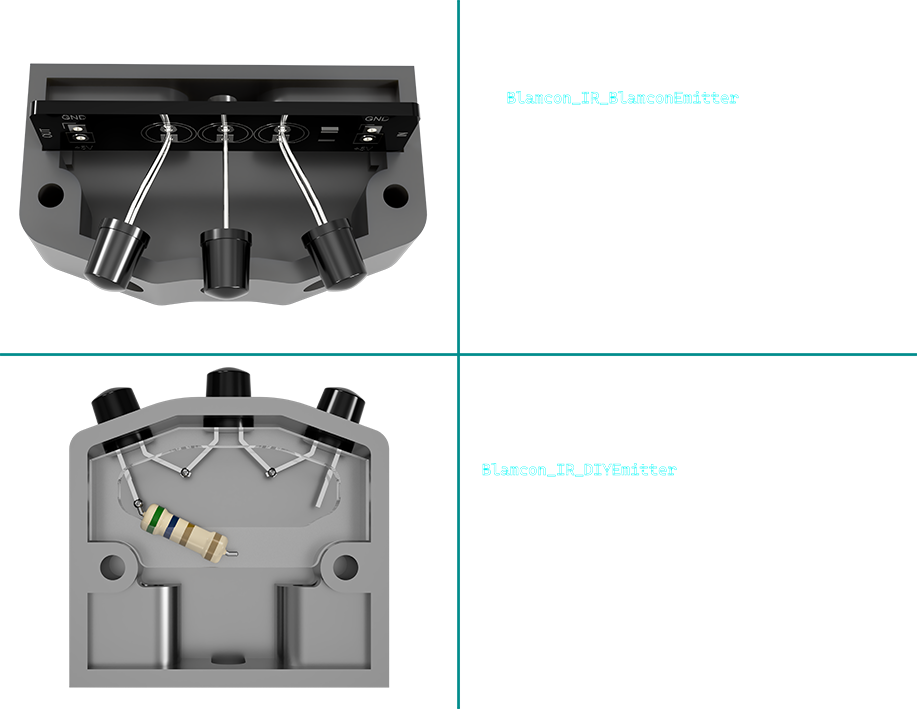
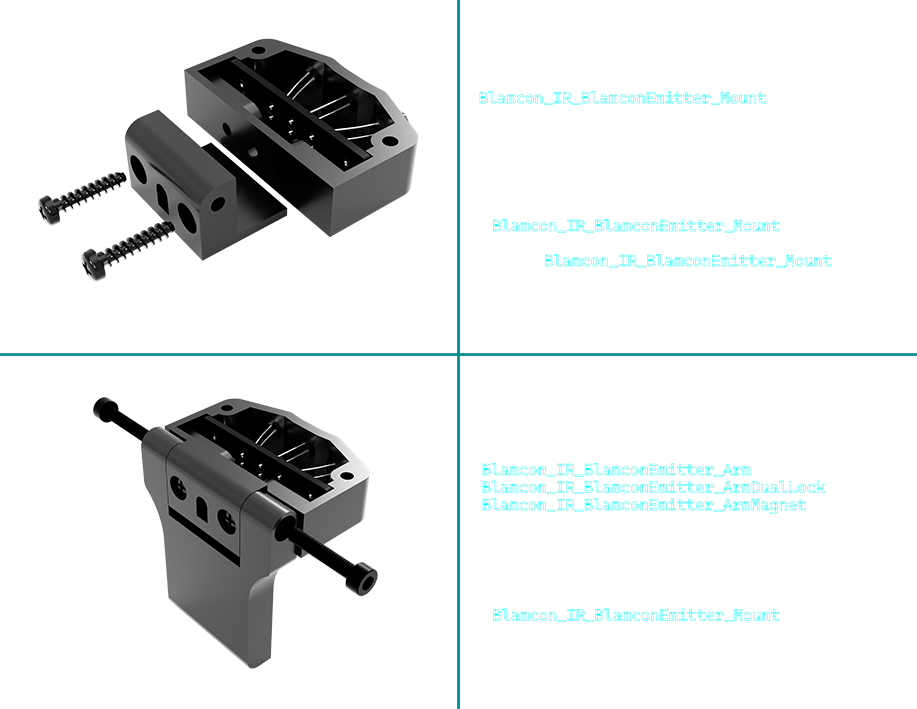
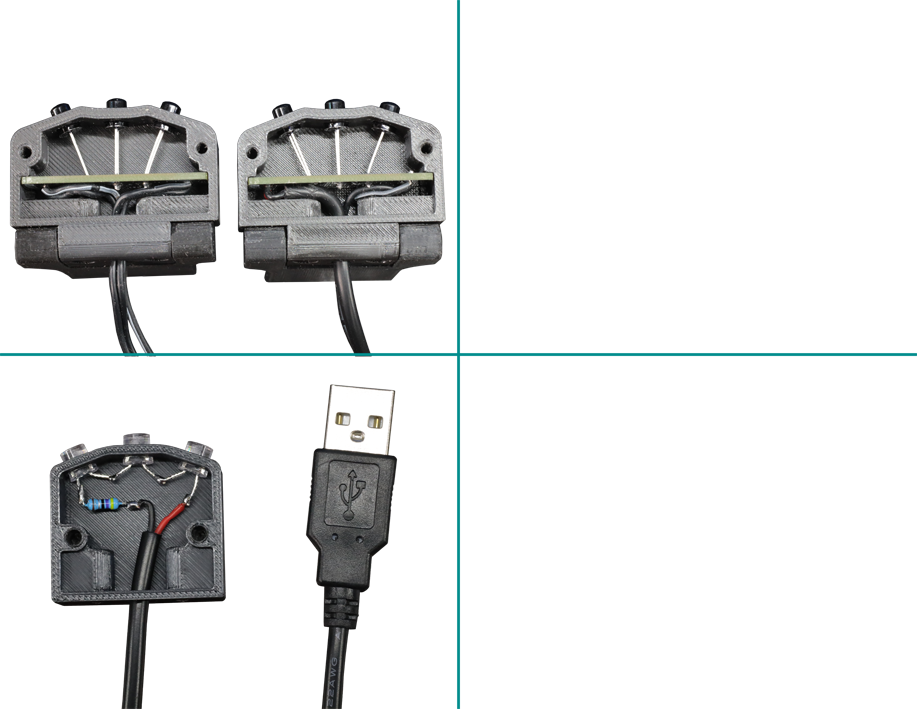
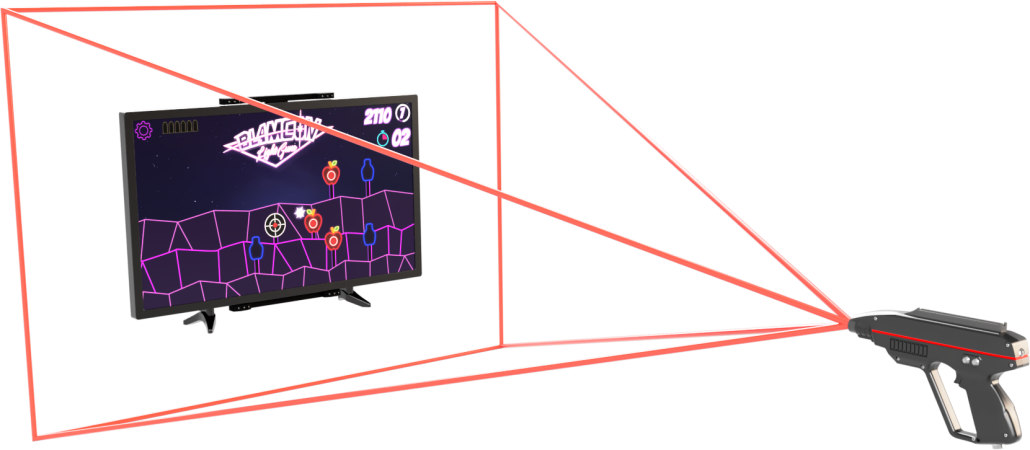
All Infrared light guns require emitters to operate, as do our Blamcons, the front of the light gun is an IR positioning camera that uses the emitters to track its position in 3D space.
There are 3 main configurations for these LEDs: Blamcon bars. Four corners, and crosshair. Blamcon works with all three of these configurations, but we highly recommend the Blamcon bars as they have the best balance of ease of use and tracking area.
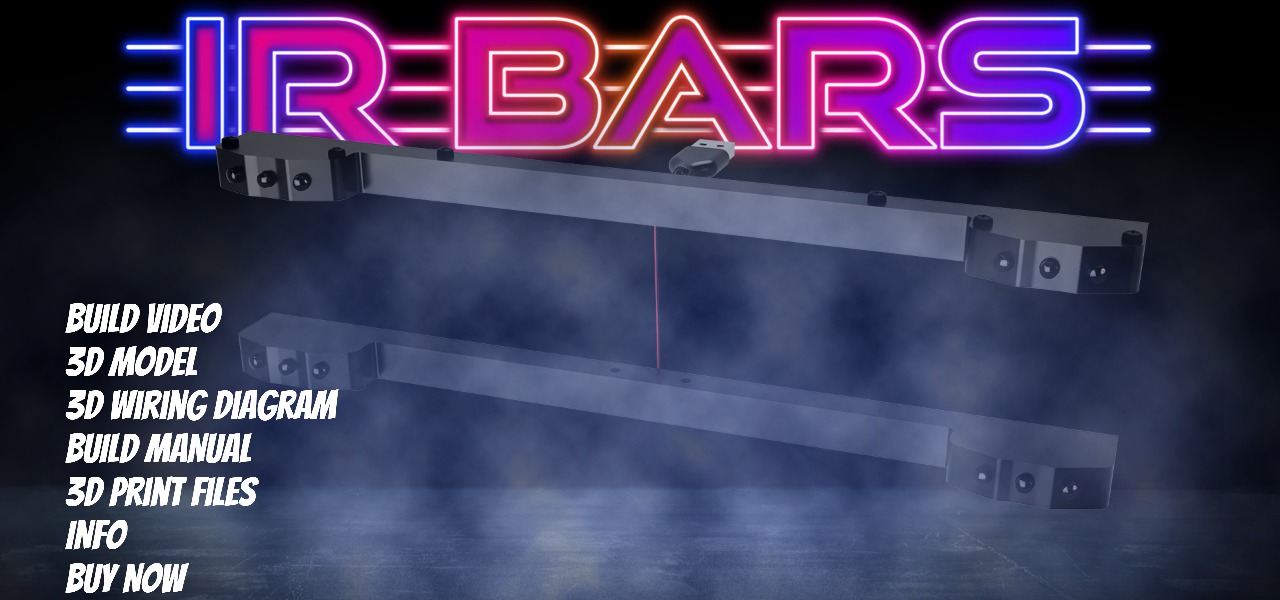
To use crosshair and four corners you need to use 4 Blamcon IR modules and for the Blamcon Bars you just need two blamcon IR bars, which have two emitters build into each. There is one more option, for those using 120in projectors or above, and that’s mega bar.
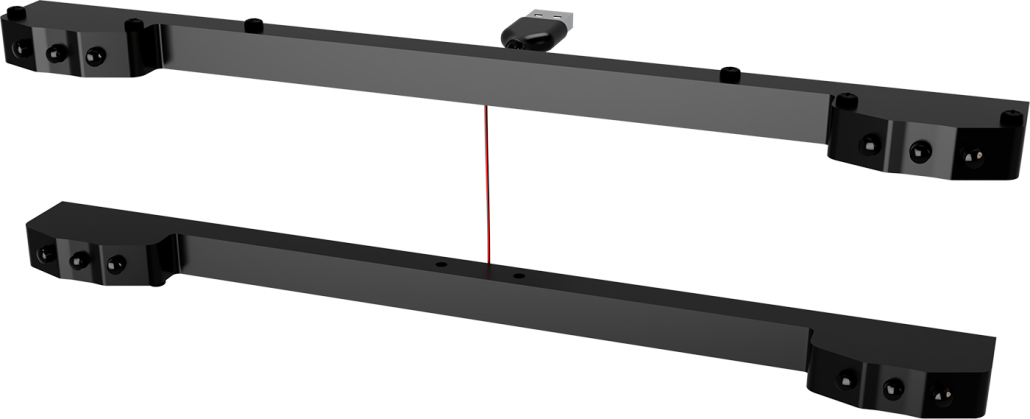

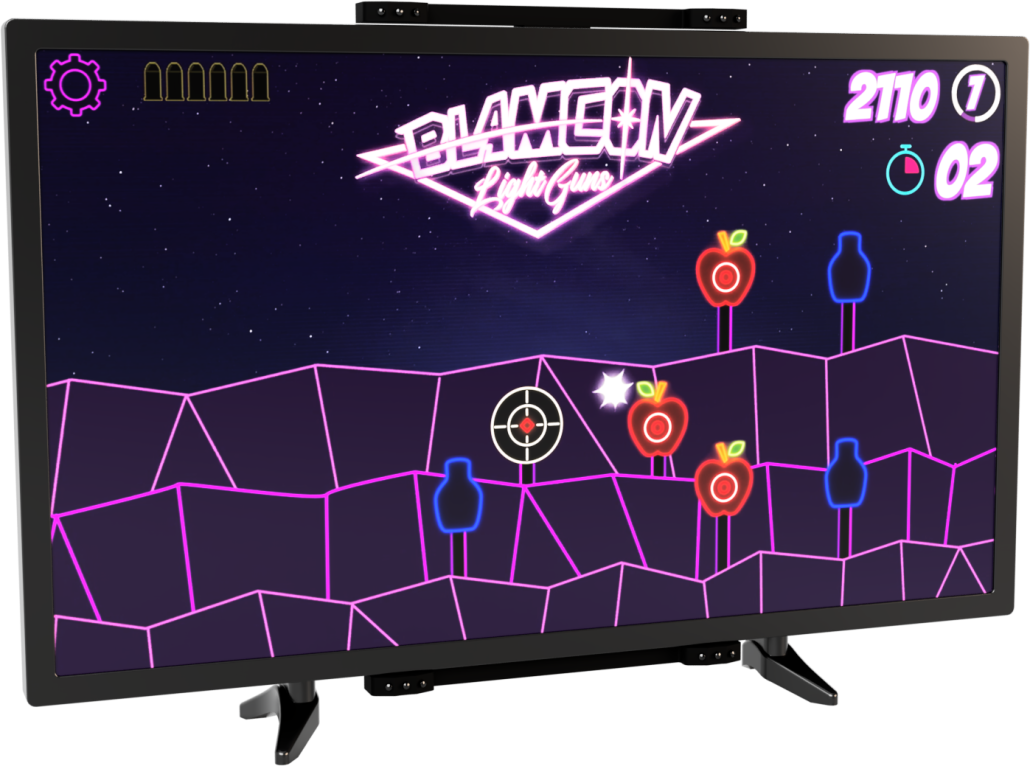
If you are building a Blamcon, the bars are by far the best way to go. They will give you the best play area and are the easiest to mount properly. bars are easy to center and are the cleanest way to set up your IR emitters.

4 corners Pattern is for third party compatibility. Single sensors also allow you to move them around if you want multiple 3rd party support. using this config gives you less lateral play area so we recommend moving these to blamcon bar spacing, 250mm, if you do. The build guide for this starts AFTER the bars section.

Crosshair pattern is for compatibility with third party systems and is the hardest to mount. We do not recommend using this config only for Blamcon. Make sure you change your IR settings to crosshair in the free Blamcon ARC utility on steam.
The IR camera used in Blamcon is 4:3 at 30 degrees. Adding a lens to your light gun will give it 64 degrees. While this is good for playing closer it reduces accuracy at long ranges and can introduce some distortion, which can be corrected for in Blamcon ARC.

Note that you can get closer after calibration as Blamcon uses predictive tracking to keep a smooth operation even when it can only see two IR points. The distances below are the distances were the camera sees 4 points at all times, including the corners. Once calibrated you can generally play closer than these distances.
TV Size |
Distance |
With Lens |
|---|---|---|
| 24″ | 1.3m 4.3ft | .6m 2ft |
| 32″ | 1.5m 5ft | .8m 2.6ft |
| 43″ | 2.3m 7.5ft | 1m 3.2ft |
| 55″ | 2.6m 8.5ft | 1.1m 3.8ft |
| 65″ | 3.1m 10ft | 1.3m 4.3ft |
| 75″ | 3.8m 12.5ft | 1.6m 5.2ft |
| 85″ | 4m 13ft | 1.7m 5.5ft |
| 105″ | 4.9m 16ft | 2.1m 7ft |
| 120″ | 5.6m 18.4ft | 2.4m 8ft |

The M3F files are in the correct print orientation and organized by tray. They will open in Orca Slicer as trays you can slice with your own settings and printer.
The Gcode files are ready to print for the printers listed, they are set up for PLA at .16. They print slow and strong and these are the same print settings we use. We print with Matter3D Performance PLA but should work with any decent PLA, print at your own risk.
All Blamcon models are released under the Creative Commons – Attribution – Non-Commercial – No Derivatives license. By downloading models from Props3D you are agreeing to abide by these terms.