







About the Terminator 2 Arcade Game
The original Terminator 2 Arcade gun was mounted to the arcade machine and worked by moving the gun by rotating it from left to right or tilting it up and down. The base was connected to 2 potentiometers that would tell the game where the gun was pointed. On this Blamcon conversion it’s a proper handheld light gun. Be warned, this thing is heavy!
Use the model browser to highlight any parts and see where they fit.
Use the explode model to see how it fits together.

Complete and Open
- Camera in the custom suppressor, lens attached with Blamcon Lens Adapter
- GX16 in the magazine, mounted on a 3D printed sheath
- Original trigger switch is used
- LED is glued to the original LED diffuser
- Original action button is wired to foot, the assignable button
- 8mm buttons are drilled behind the action button for an A and B
- Rumble mounted in the frame, hot glued
- Original solenoid can be used, or replace with any one like I did here
- Core is mounted firmly in the 3D printable core frame.
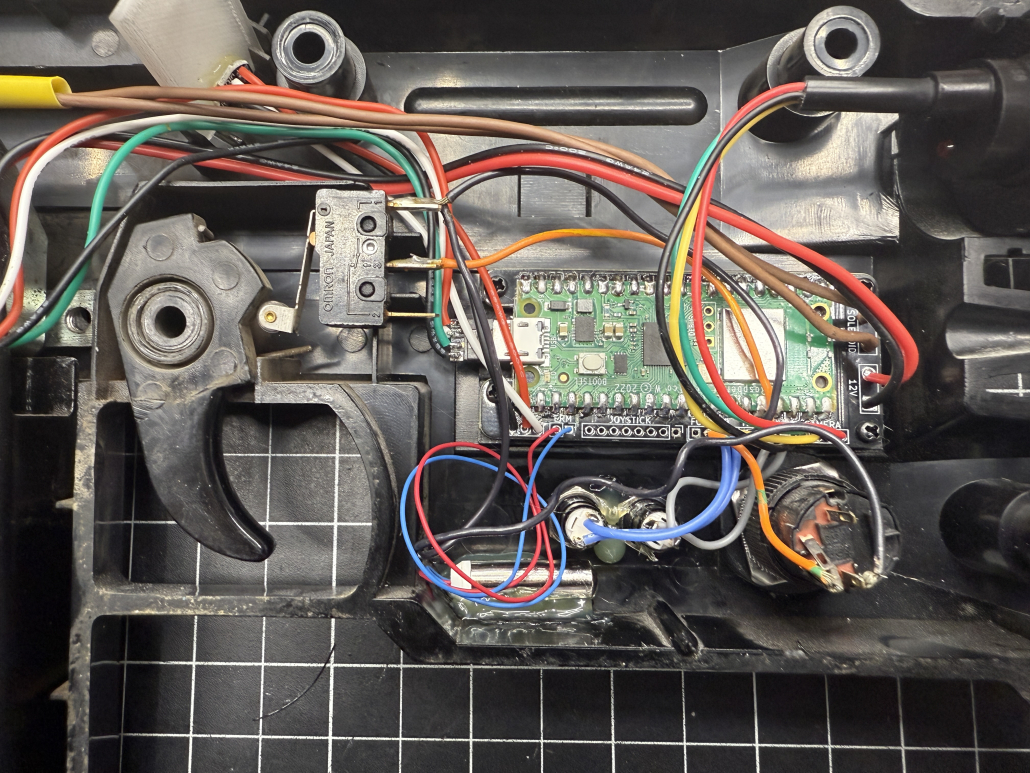
Main Wiring
- Wire the original trigger to trigger on the core, use the pin where the lever connects to the switch and hte middle pin, the end pin won’t work
- Install the camera using the 3D printable camera mount, you will have to dremel off the original plate that covers the barrel, leave 1~2mm of the plate for the mount to grab onto, it doesn’t have to be perfectly clean as the mount will cover it.
- Wire the original action button to the ‘foot’ pins.
- Drill 2 8mm holes for the A and B button behind the action button, make sure you leave enough clearance.
- Solder the solenoid onto the solenoid pins, polarity doesn’t matter.
- Glue the rumble to the frame and solder to the ERM pins.
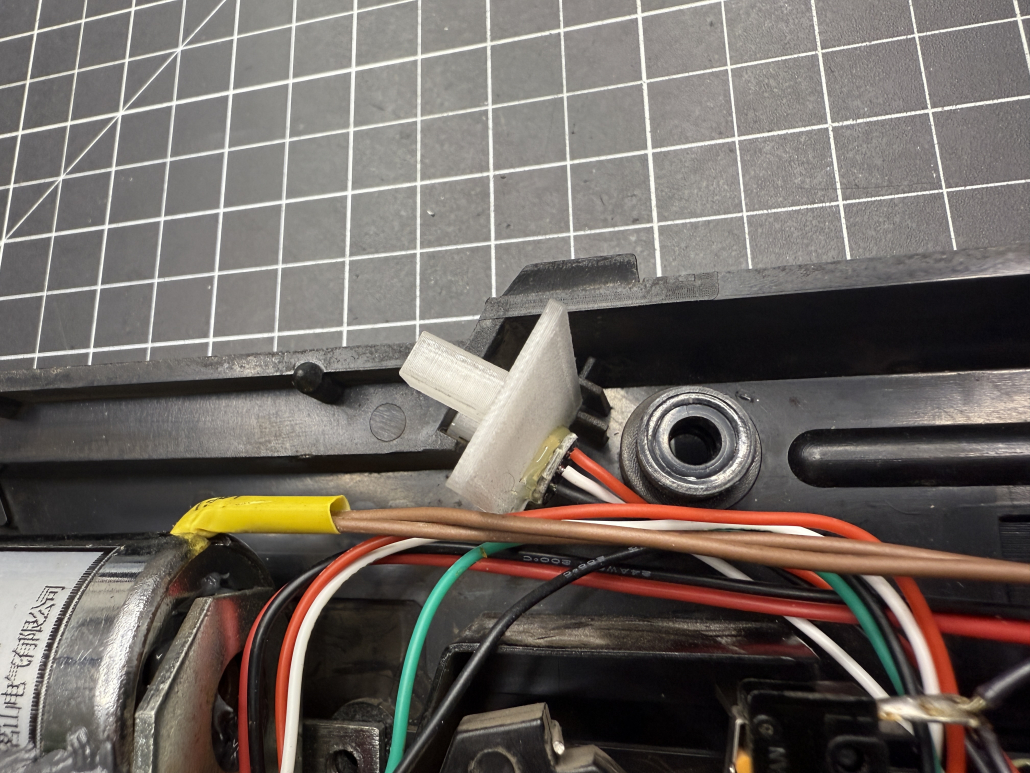
Wire the LED
- Hot glue the LED to the 3D printable LED diffuser that replaces the original LED mounts
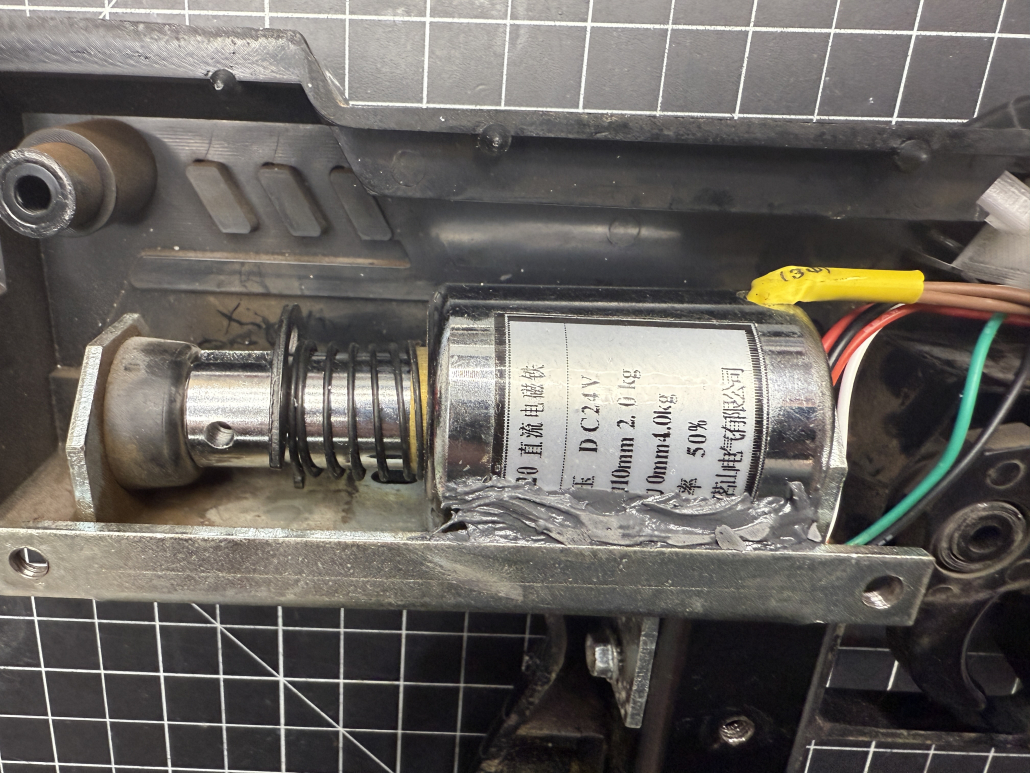
Solenoid (If you need to)
- You can use the original solenoid, or replace with pretty much any solenoid, this is a big tray. I used JB weld to hold it in place.
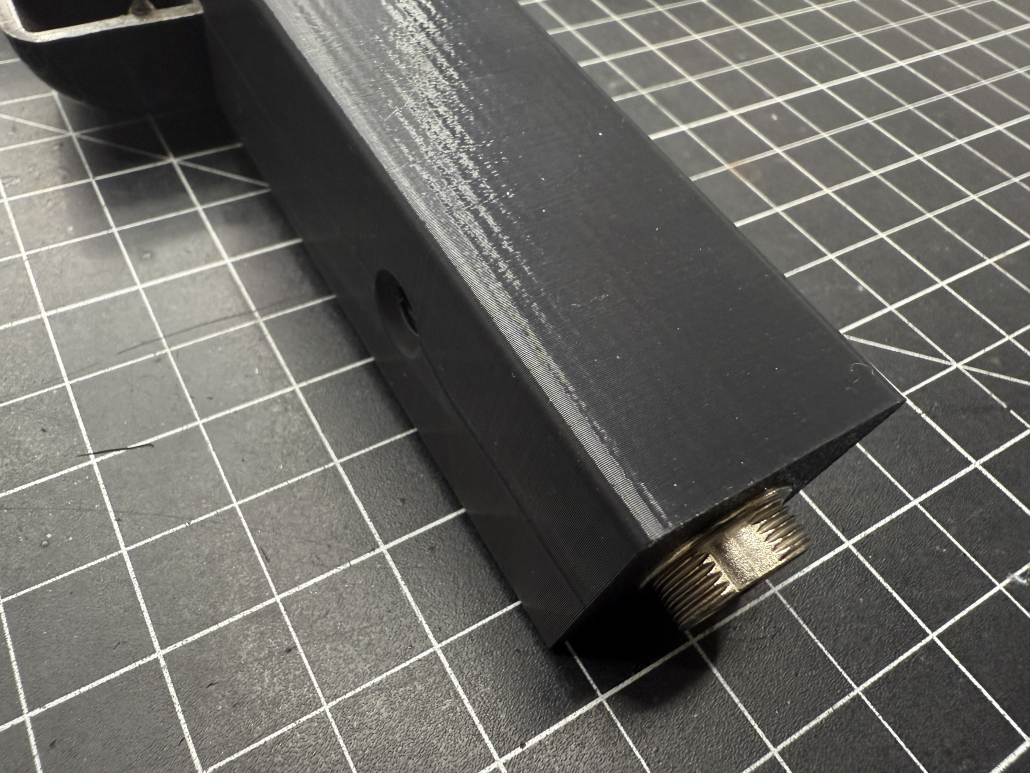
GX16
- Make sure the GX16 power and USB wires are long enough, solder them on, then screw the GX16 into the printed magazine sheath.
- Slide the sheath on the post then secure with 3 M3X6mm flat head screws.