




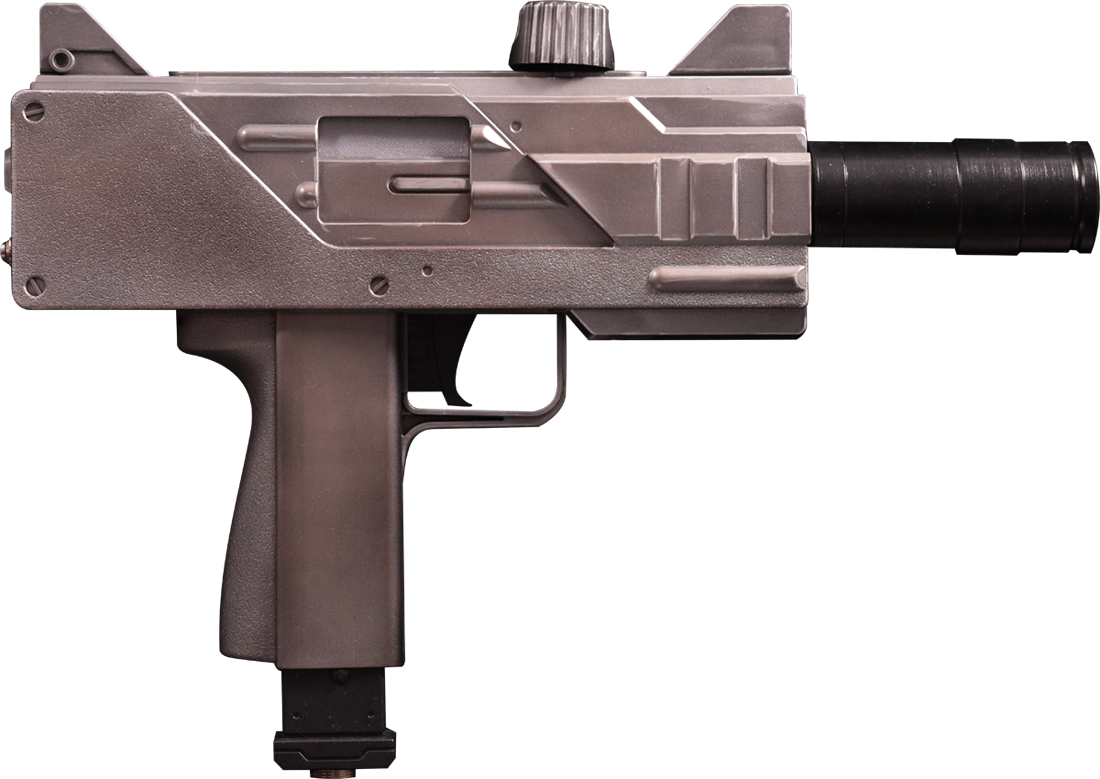


About the HOTD4 Mac 10
The House of the Dead 4 gun is styled after a classic Mac 10. You can find these original on Ebay every now and then but there are cheap after market shells available on Aliexpress. The aftermarket shells aren’t as strong and don’t usually include the microswitches needed to get the gun working. But all everything else is there if you use the 3D printable parts, so this is one of the cheapest and most readily available light gun conversions around.
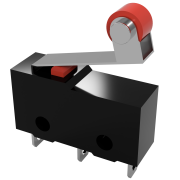
This light gun features a solenoid recoil that opens the bolt when fired, rumble motor, original A button at the front, and a B button with an LED at the back. The trigger action is quite long but uses a satisfying roller microswitch when activated. The conversion uses a 3D printed mock suppressor that can optionally hold a lens, the 3D printed bolt cover, and a 3D printed GX-16 mount.
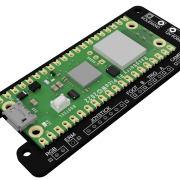
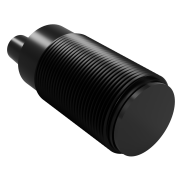
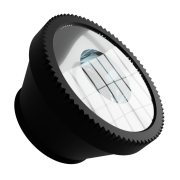
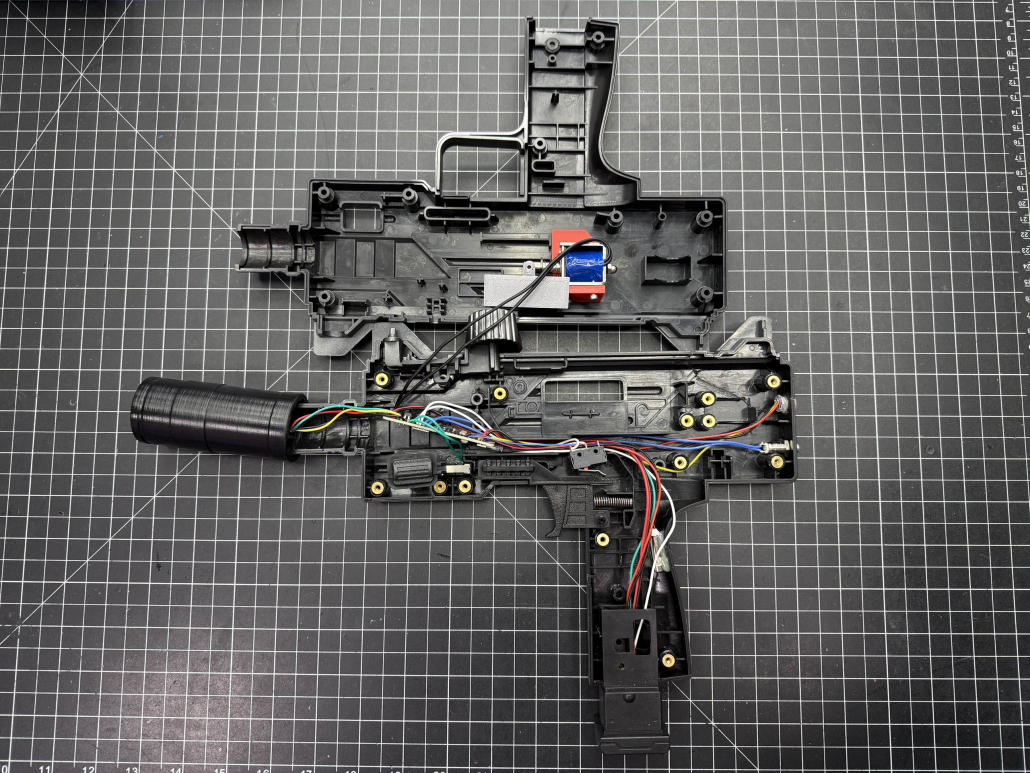
Complete And Open
- Camera in the custom suppressor, lens attached with Blamcon Lens Adapter
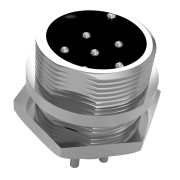
- GX16 in the magazine, mounted on a 3D printed plate
- LED and B button at the back
- Rumble mounted in the grip, hot glued
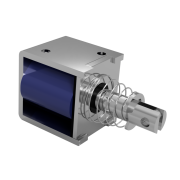
- Solenoid in bracket with plate attached
- Core is loose in the front of the frame, it stays very well just with the wires, you can tack it in with hot glue if you like
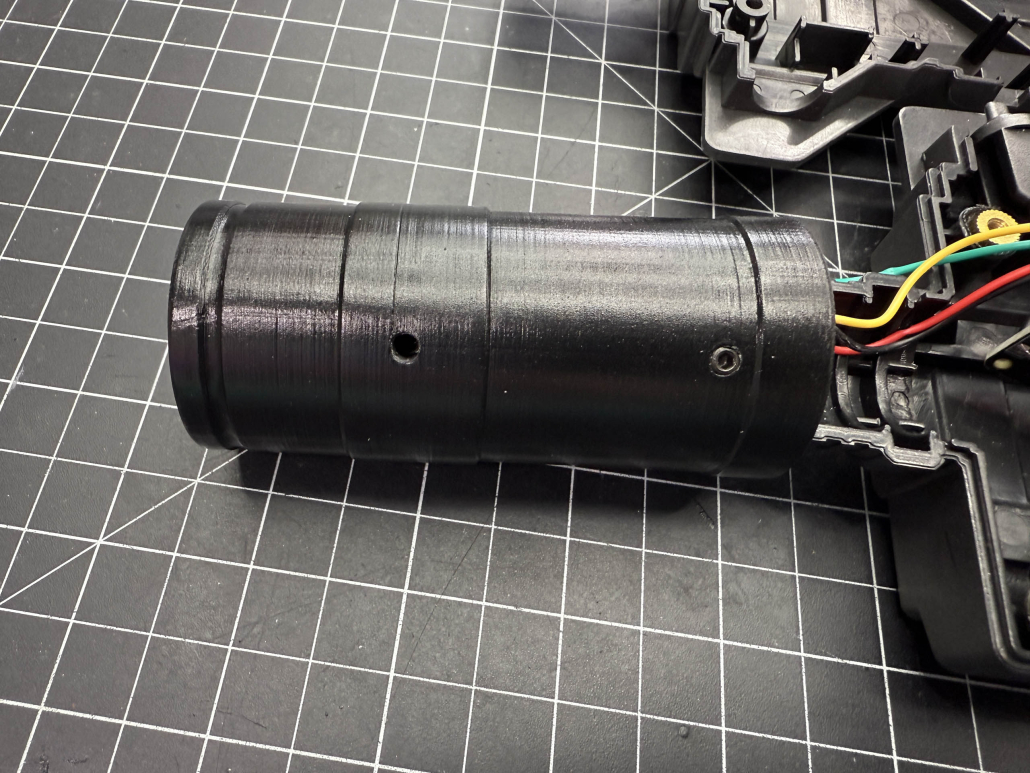
Camera Suppressor
- If you want a lens screw on the lens adapter and lens now.
- Insert the camera into the front and secure with a M4X6 Grub screw
- Screw in another M4X5 Grub screw into the back until it just sticks out on the inside, then back it off until you can’t see it
- Cut the camera cable off to ___mm and remove the outer insulation
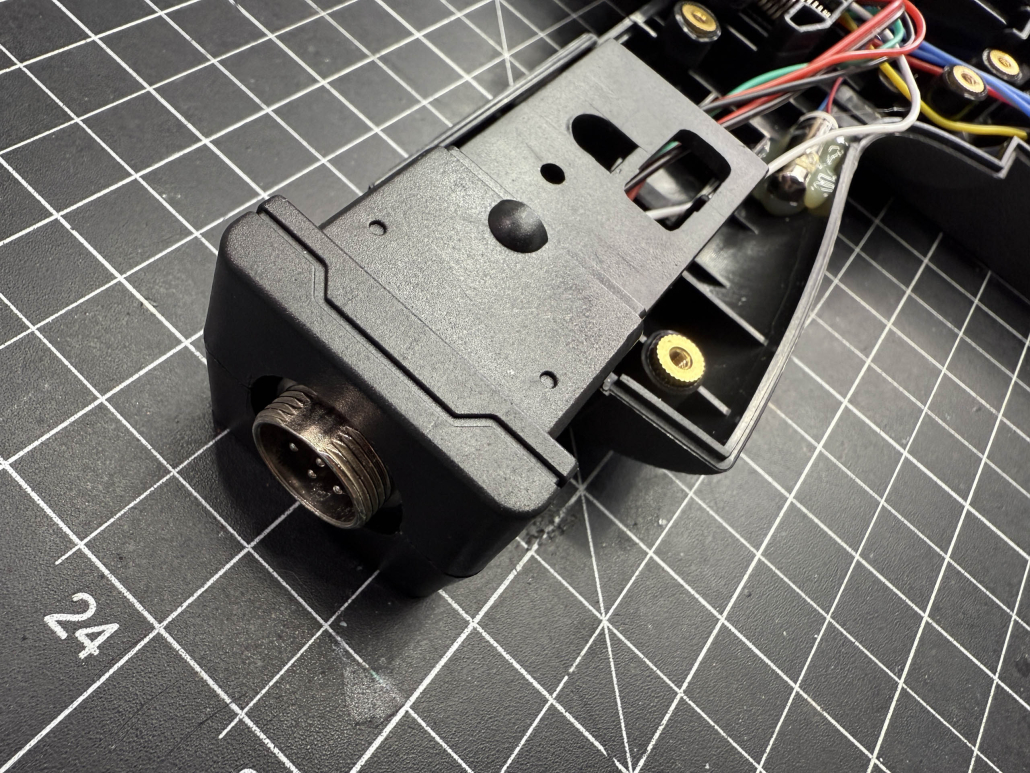
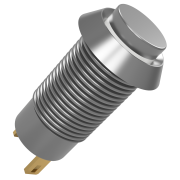
GX 16
- Solder the GX16 cable (1 12V Positive, 2 12V Negative, 3 USB Positive, 4 Data Positive, 5 Data Negative, 6 USB Negative)
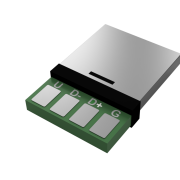
- Solder the USB connector (Left to Right: USB Positive, USB Data Negative, USB Data Positive, USB Negative)
- You should be able to use screw the GX16 onto the magazine cable hole by putting the nut on the inside and screw the GX16 onto the outside
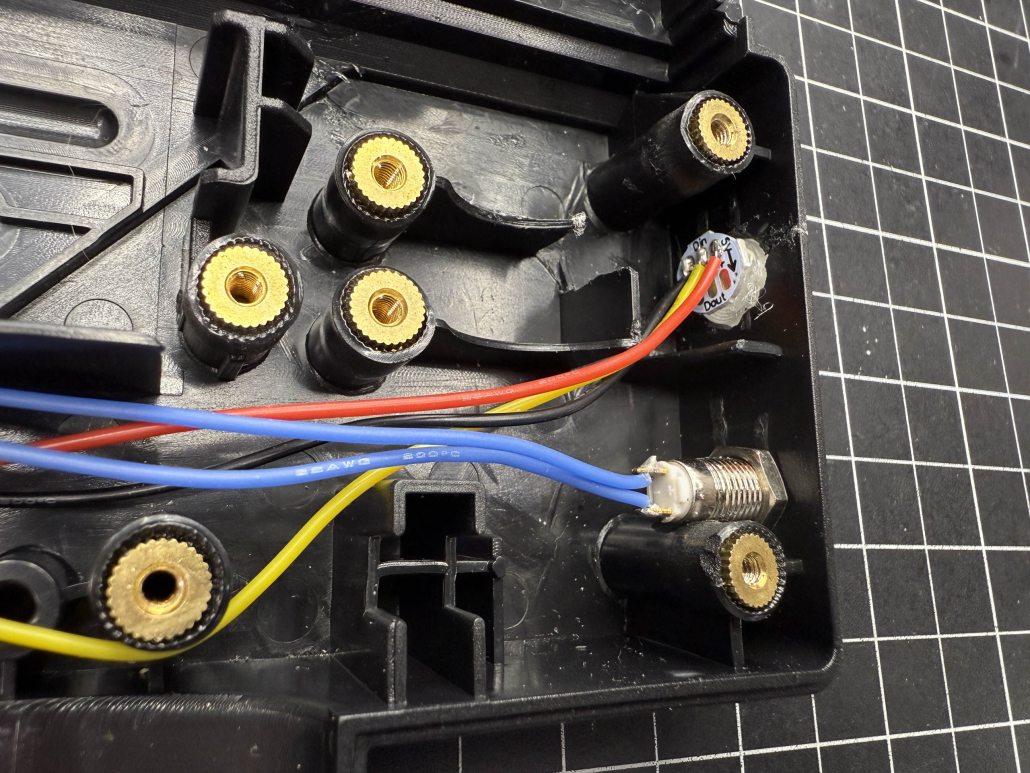
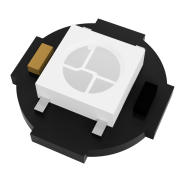
LED and B Button
- Drill a 10mm hole in the location shown for the USB diffuser and secure with hot glue
- Drill and 8mm hole in the location shown for the 8mm button
- Solder 3 ___mm wires onto the LED and solder to the LED holes on the core
- Solder 2 ___mm wires onto the 8mm hole and solder to the B holes on the core
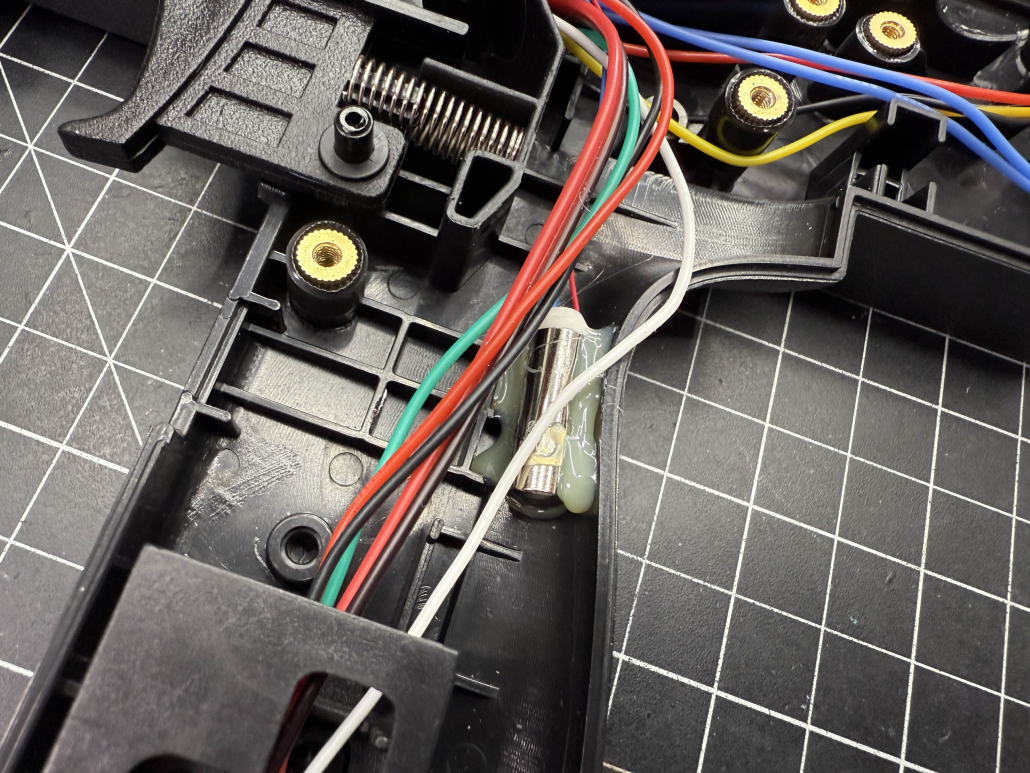
Rumble Motor
- Hot glue the rumble motor in the location shown
- Solder to the ERM holes on the core
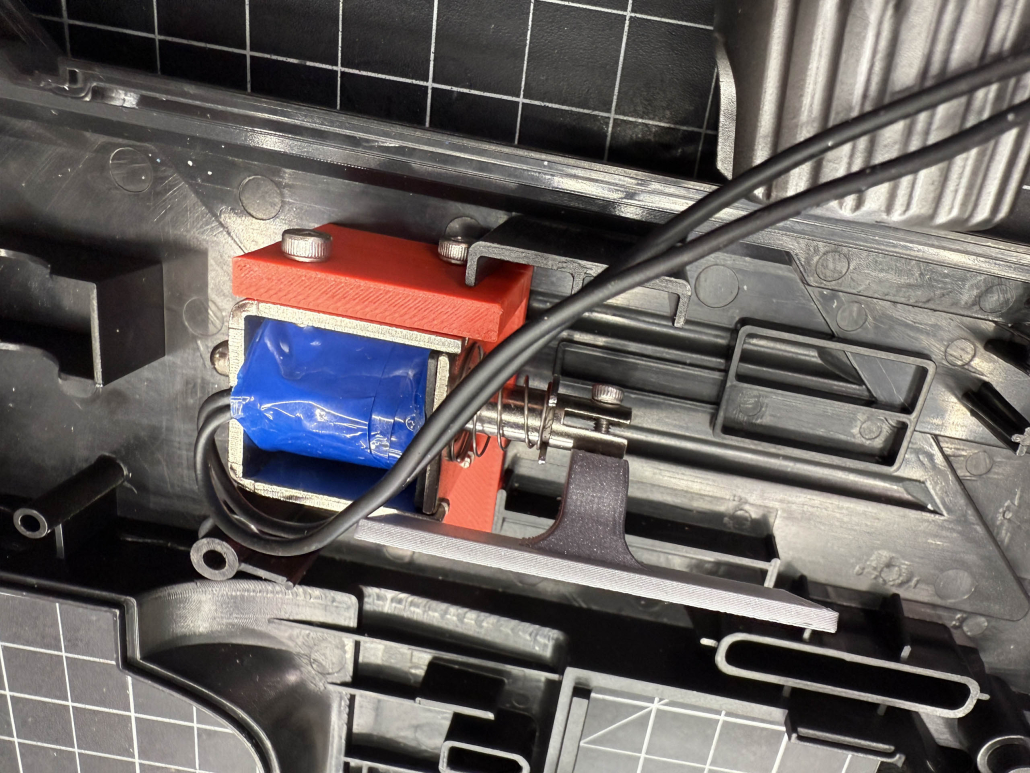
Attach the Solenoid and Cover
- Print the Solenoid bracket and glue into the location shown
- Print the bolt and secure to the solenoid using the M2.5×10 cap head screw
- Cut the solenoid wires to __mm and solder to the core, polarity doesn’t matter
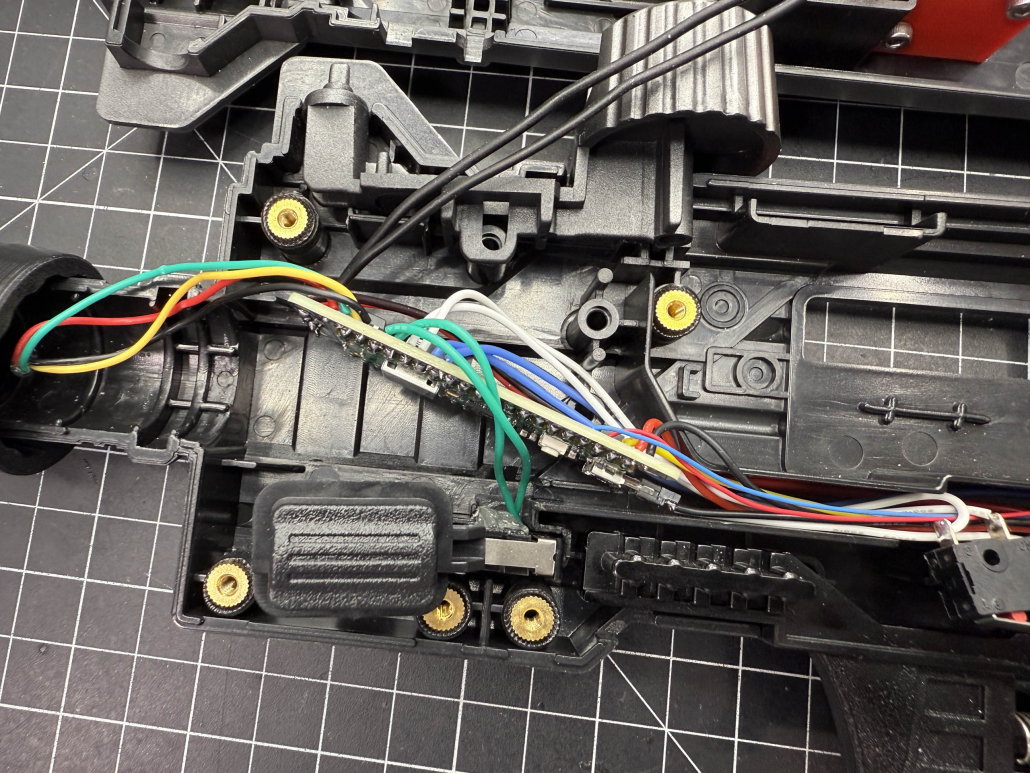
Mount the Core
- The core can sit loose at this angle
- If your HOTD4 Mac 10 doesn’t come with microswitches use one for the A switch and one for the trigger switch
- Solder 2 __mm wires to the trigger switch on the two terminals closest to where the switch leaf connects and solder them to the trigger holes on the core.
- Solder 2 __mm wires to the A switch on the two terminals closest to where the switch leaf connects and solder them to the A holes (giggle) on the core.
- Plug in the USB cable and solder the 12V power wires to the 12V holes on the core